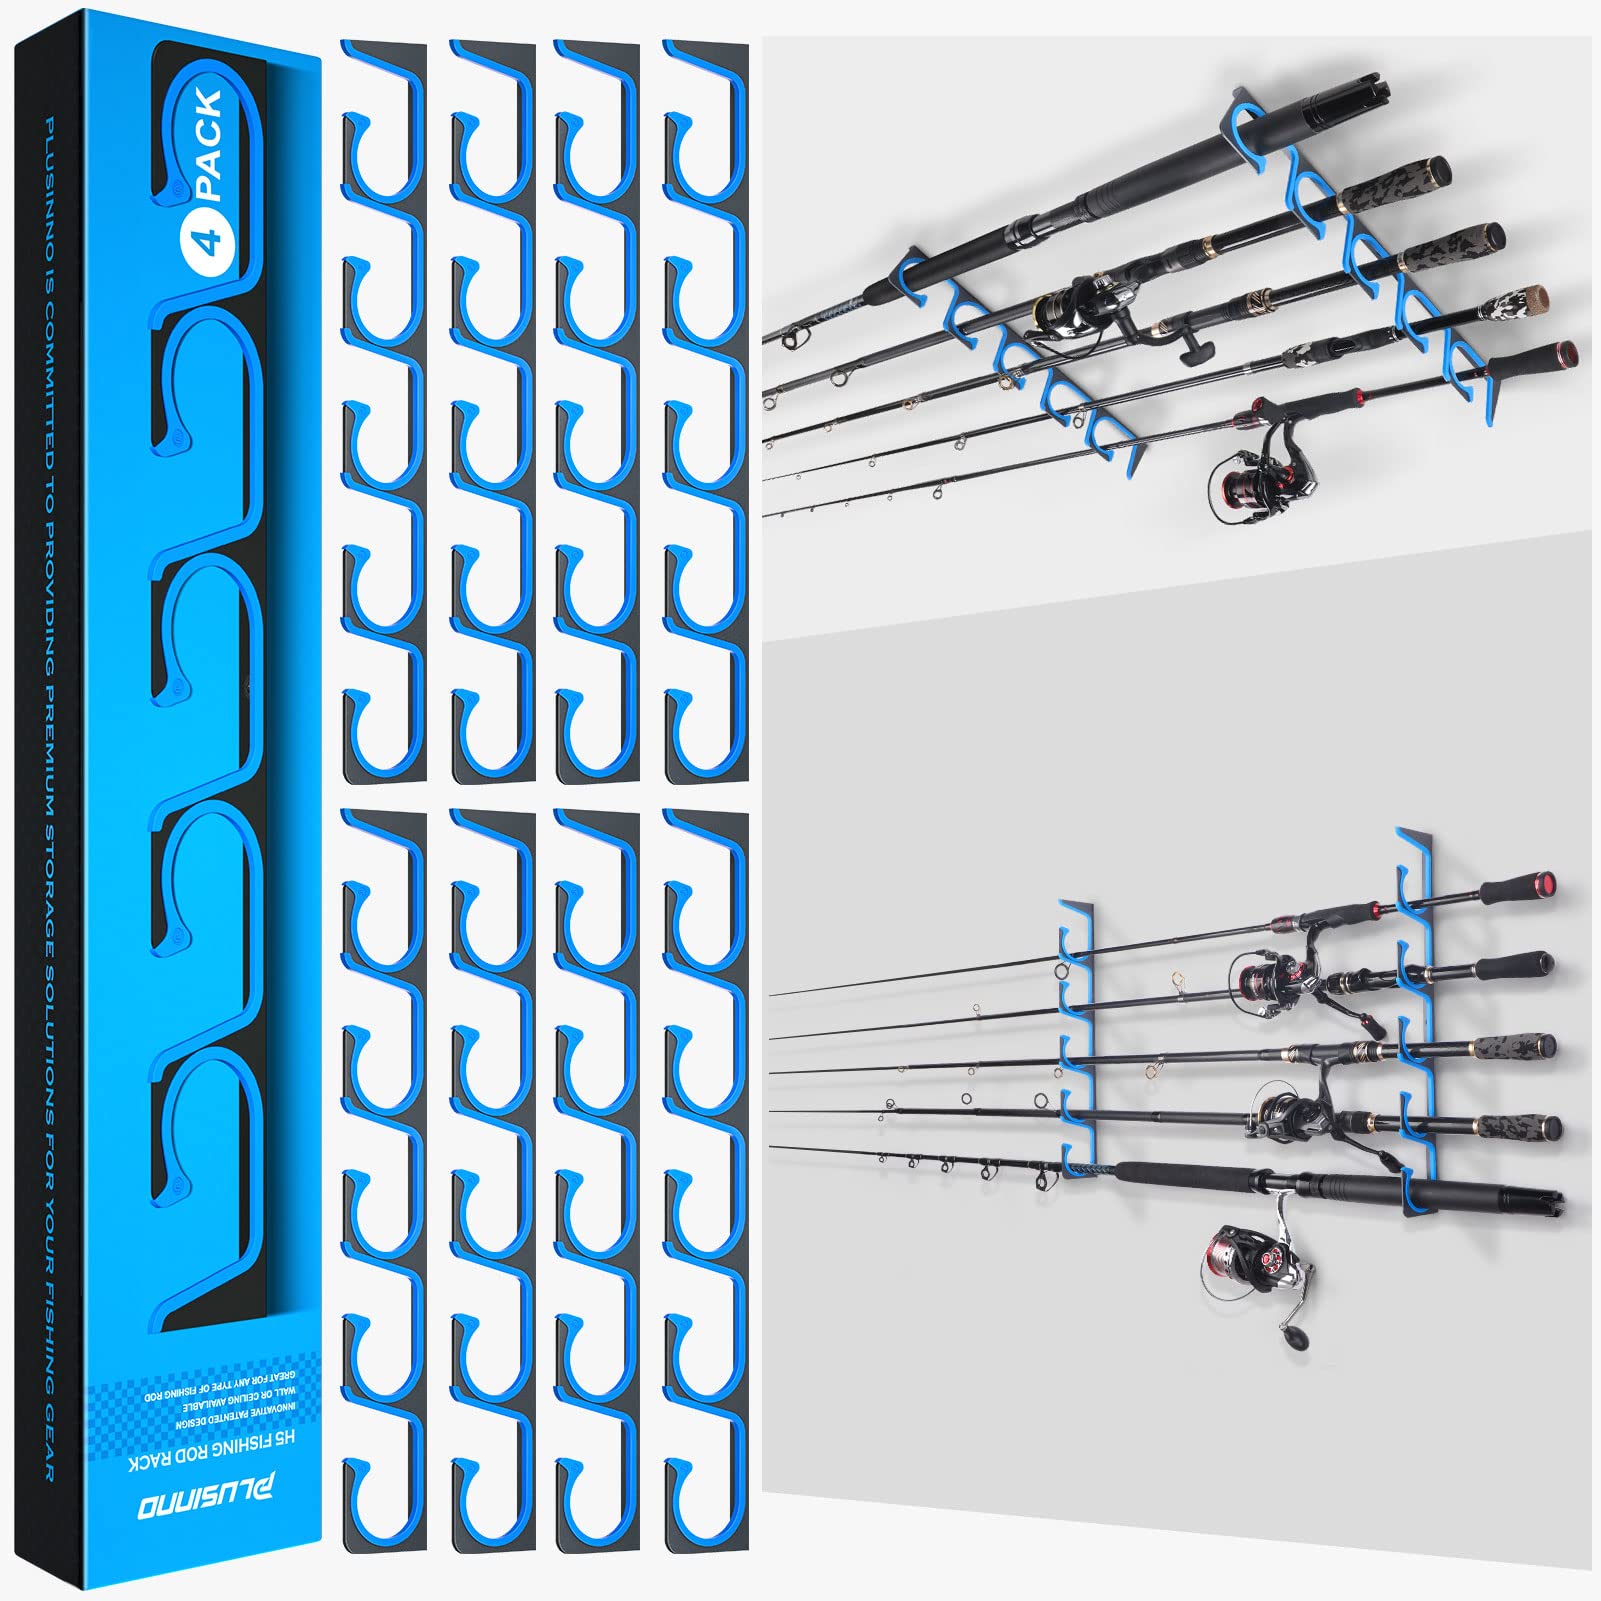
Are you an avid angler looking for a way to organize and display your fishing rods? Look no further! In this DIY tutorial, we will guide you through the process of building your own customizable rod rack. With just a few materials and some basic tools, you can create a functional and stylish storage solution for your fishing gear.

Gathering the Materials
The first step in building your rod rack is to gather all the necessary materials. You will need:
- Wooden board
- PVC pipes
- Screws
- Drill
- Saw
- Sandpaper
- Measuring tape
Make sure to choose a wooden board that is sturdy enough to support the weight of your fishing rods. PVC pipes will serve as the holders for your rods, so select a size that fits your rods snugly.
Measuring and Cutting
Once you have gathered all the materials, it's time to measure and cut the wooden board and PVC pipes. Start by measuring the length of your board and determining how many rod holders you want to include. Mark the positions for the rod holders evenly along the length of the board.
Next, measure and cut the PVC pipes into equal lengths, ensuring they are long enough to securely hold your fishing rods. Use a saw to make the cuts, and then smooth the edges with sandpaper to prevent any damage to your rods.
Assembling the Rod Rack
Now that you have all the necessary components, it's time to assemble your rod rack. Begin by attaching the PVC pipes to the wooden board. Place the PVC pipes on the marked positions and use a drill to secure them in place with screws. Make sure the pipes are straight and securely attached to the board.
Once the PVC pipes are attached, you can further customize your rod rack by adding additional features. For example, you can attach hooks or clips to the board to hang your fishing accessories, such as hats or tackle bags. You can also paint or stain the wooden board to match your personal style.
Mounting the Rod Rack
After assembling your rod rack, it's time to mount it in your desired location. Choose a spot that is easily accessible and can accommodate the length of your fishing rods. Use screws or mounting brackets to secure the rod rack to the wall or any other suitable surface.
Make sure to mount the rod rack at a height that allows for easy retrieval and storage of your fishing rods. Consider the length of your longest rod and leave enough space above the rack to prevent any damage.
Now that you have successfully built and mounted your own customizable rod rack, you can proudly display your fishing rods and keep them organized. Not only does this DIY project provide a practical storage solution, but it also adds a touch of personalization to your fishing gear.
Conclusion
Building your own customizable rod rack is a rewarding DIY project that allows you to showcase your fishing rods while keeping them organized. By following this tutorial, you can create a functional and stylish storage solution that suits your needs and personal style.
For more information and inspiration on building your own rod rack, check out these credible sites:
Note: The links provided above are for reference purposes only and should not be considered as endorsements.


