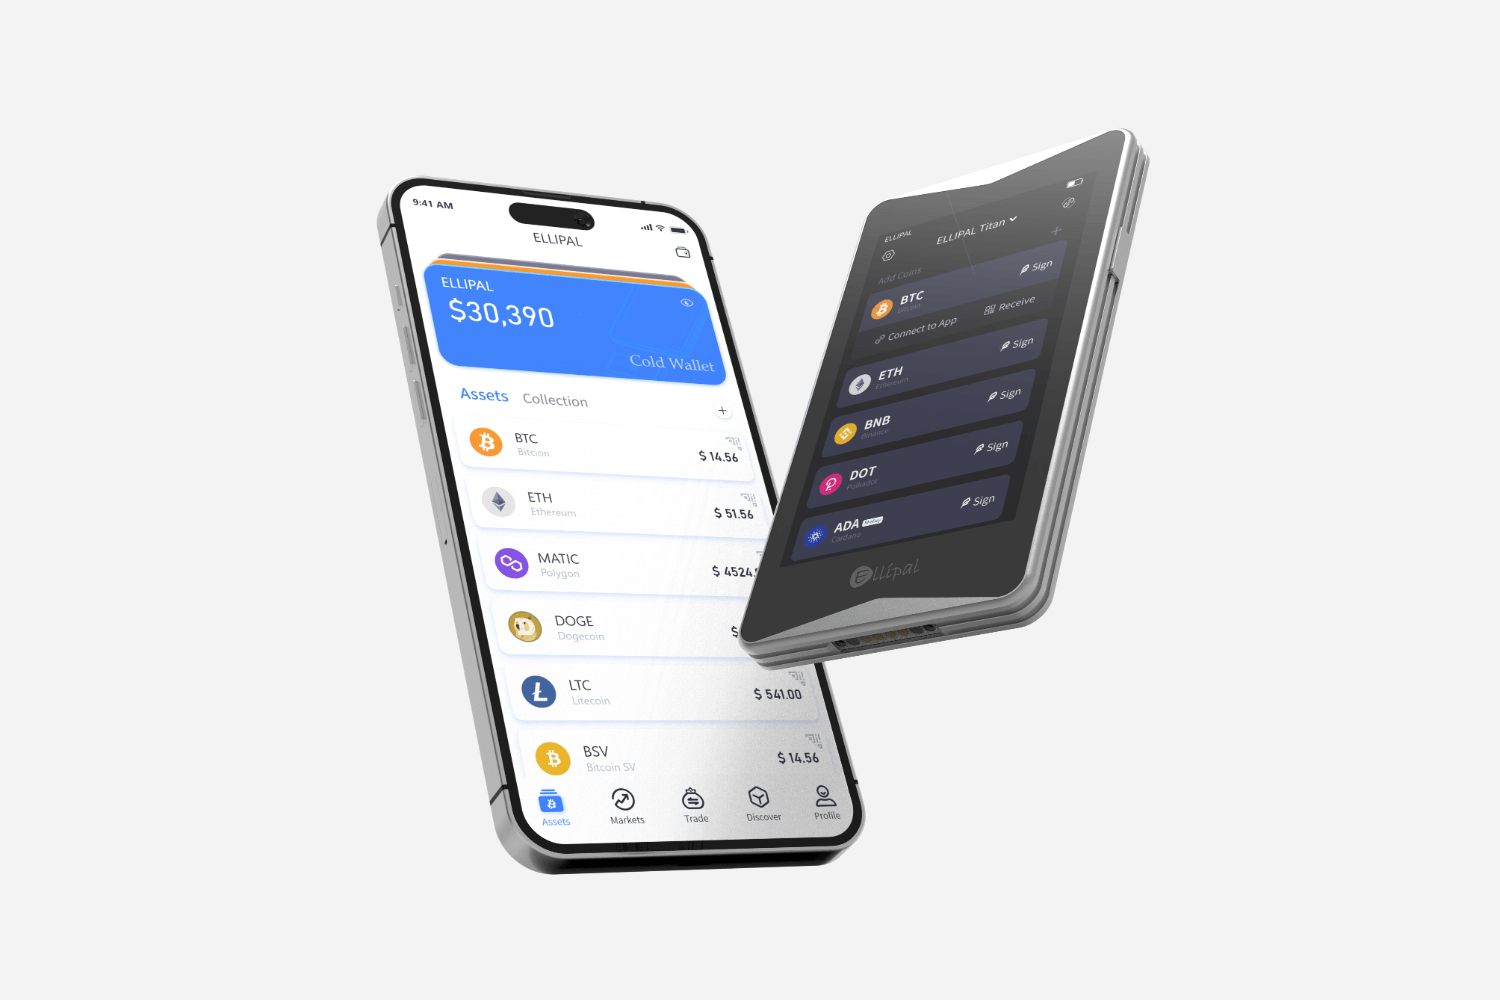
In the world of cryptocurrency, security is paramount. One of the most effective ways to safeguard your digital assets is by using a cold wallet. This guide will walk you through how to set up a cold wallet, ensuring your cryptocurrencies are stored securely and offline.

What is a Cold Wallet?
A cold wallet, also known as a cold storage wallet, is a type of cryptocurrency wallet that is not connected to the internet. This isolation makes it significantly less vulnerable to hacking attempts and online threats. Cold wallets can take various forms, including hardware wallets and paper wallets. Understanding the different types will help you choose the best option for your needs.
Why Use a Cold Wallet?
Many cryptocurrency investors wonder why they should use a cold wallet instead of a hot wallet, which is connected to the internet. Here are some compelling reasons:
- Enhanced Security: Cold wallets provide a higher level of security against cyber threats.
- Ownership Control: You have complete control over your private keys, reducing reliance on third parties.
- Long-term Storage: Ideal for holding cryptocurrencies for extended periods without the need for frequent access.
How to Set Up a Cold Wallet
Now that you understand the importance of a cold wallet, let’s delve into the steps involved in how to set up a cold wallet.
- Choose Your Cold Wallet Type: Decide between a hardware wallet or a paper wallet. Hardware wallets are more user-friendly and secure, while paper wallets require more technical knowledge.
- Purchase a Hardware Wallet: If you opt for a hardware wallet, purchase it from a reputable source. Ensure that the device is new and has not been tampered with.
- Install the Wallet Software: Download the official software for your hardware wallet from the manufacturer's website. This software will help you manage your cryptocurrencies.
- Generate Your Wallet: Follow the instructions provided by the wallet software to create a new wallet. This process typically involves generating a recovery seed phrase, which is crucial for wallet recovery.
- Secure Your Recovery Seed: Write down your recovery seed phrase and store it in a safe place. Never share this phrase with anyone, as it grants access to your funds.
- Transfer Your Cryptocurrency: Once your cold wallet is set up, you can transfer your cryptocurrencies from your hot wallet to your cold wallet. This step ensures that your assets are stored securely offline.
For a detailed visual guide, you can refer to the  that provides step-by-step instructions on setting up your cold wallet.
Maintaining Your Cold Wallet
After successfully setting up your cold wallet, it is essential to maintain it properly. Regularly check for software updates from the wallet manufacturer and ensure that your recovery seed is stored securely. If you ever need to access your funds, remember to do so with caution, as connecting your cold wallet to the internet can expose it to risks.
Conclusion
In conclusion, understanding how to set up a cold wallet is crucial for anyone serious about cryptocurrency investment. By following the steps outlined in this guide, you can ensure that your digital assets remain secure and protected from potential threats. Embrace the peace of mind that comes with knowing your cryptocurrencies are stored safely offline.


